
Part 1 was about the why. Making images locally keeps your work private, costs nothing per picture, and gives you a style of your own. Now the how. This part is a recipe you can cook at home.
You need a Mac with Apple Silicon, an M1 or newer. A few gigabytes of free disk. And twenty minutes the first time.
Installing
Bonsai ships with a ready-made demo setup from PrismML. Open a terminal and pull it in.
git clone https://github.com/PrismML-Eng/Bonsai-Image-Demo.git
cd Bonsai-Image-Demo
./setup.sh
./scripts/download_model.sh
setup.sh builds the Python environment and installs what it needs. download_model.sh fetches the model. By default it grabs the ternary variant, which gives slightly better quality for a small bump in size. That is the version I use.
The project pages are at github.com/PrismML-Eng/Bonsai-Image-Demo, the model itself on Hugging Face, and the background from PrismML at prismml.com. If you want a taste before installing anything, try their online playground.
One command
Generating takes a single line.
./scripts/generate.sh --prompt "a quiet ceramic studio in morning light" \
  --size 1280x880 --seed 42 --output outputs/studio.png
Done. A PNG in the outputs folder. The size has to be a multiple of 16. I use three fixed ratios: 1024x1280 for an upright hero, 1280x880 for a card cover, and 1408x704 for a wide article header.
I wrap this in an npm script of my own, so the image lands optimized in the right place on my site straight away. That is a luxury, not a requirement. The bare command above is enough to start.
The secret: holding one style
This is where the real work sits, and it is surprisingly simple. If you want all your images to belong together, write one fixed style block and only swap the scene line. This is the block I use for this site, in the risograph or screenprint look that matches the design.
editorial risograph screenprint illustration, limited palette:
warm cream, deep ink black, vivid orange, cobalt blue, small
accents of sunny yellow. bold flat shapes, halftone grain, paper
texture, hard ink outlines, high contrast, negative space,
slightly imperfect print registration, analog feel, flat,
no photo, no 3d render
For each image I put one sentence in front of it: the subject. “two worlds in one glass.” Or: “a harbor at sunrise.” The rest stays the same. Add a fixed --seed as well and the images stay consistent in tone and composition. That is how you build a series that feels like family instead of loose pictures.
One thing to remember: Bonsai reads color names, not hex codes. Write “warm cream” and “cobalt blue”, not #f4ecd8.
Working faster with the studio
Running generate.sh every time means loading the model every time. That costs a few minutes per image. If you are making a series, first start the studio, a small local background service that keeps the model warm in memory.
./scripts/serve.shAfter that an image takes seconds instead of minutes. For a single cover you do not need it. For a gallery like the one below you do.
What is possible
Bonsai is not limited to my risograph style. The underlying model understands natural language, so you describe a scene the way you would explain it to a person, including light, angle, and mood. Below are four in my own style first, then four completely different directions, all made locally.
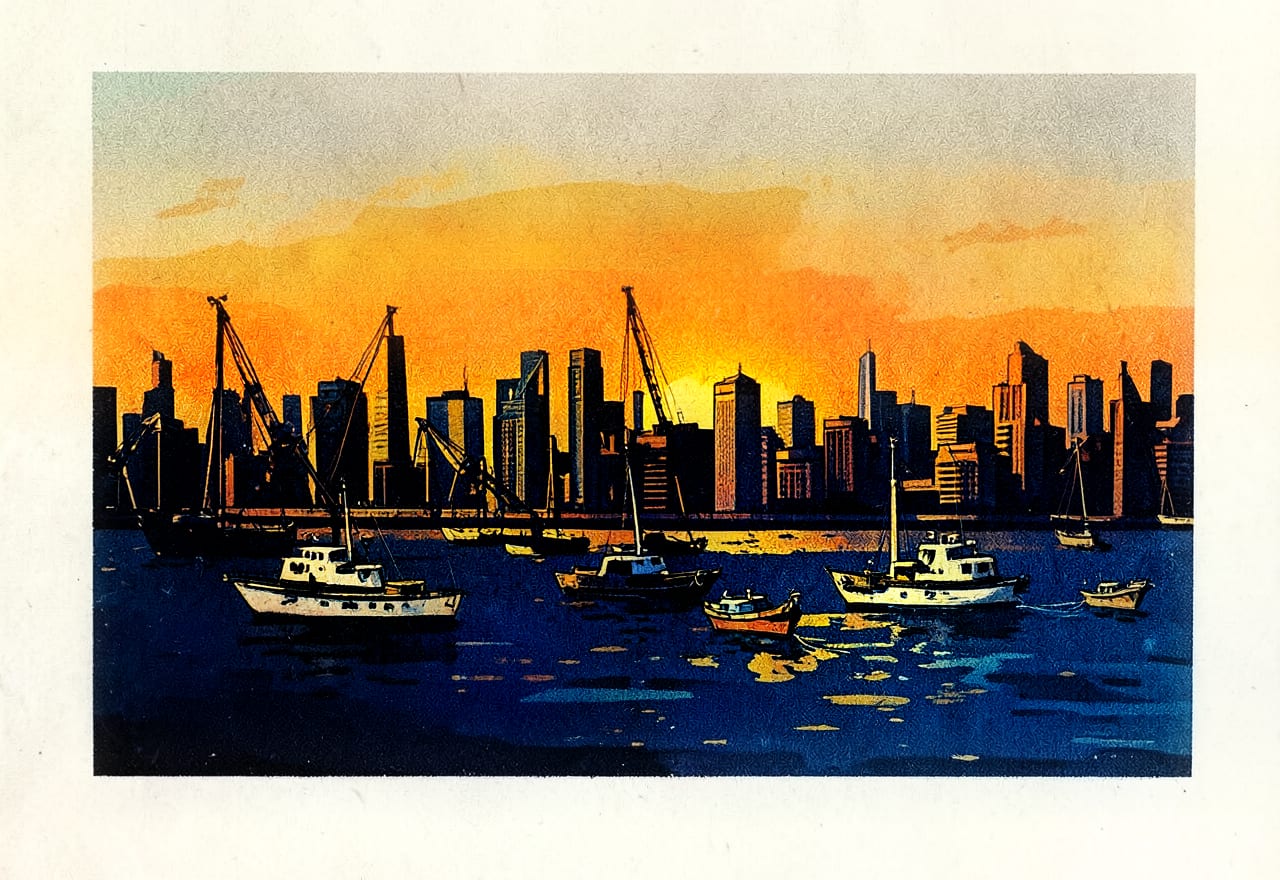 My style: a harbor at sunrise.
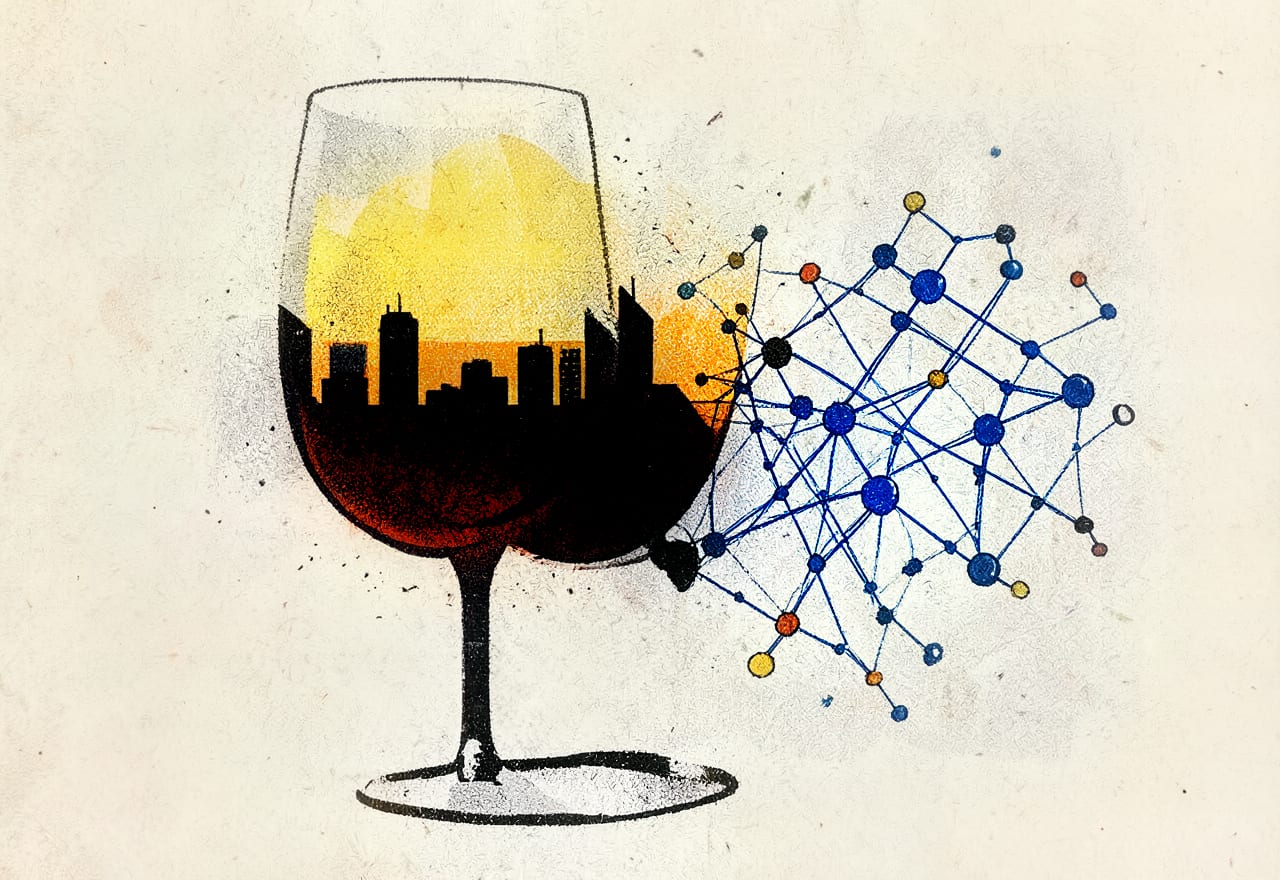 My style: two worlds in one glass.
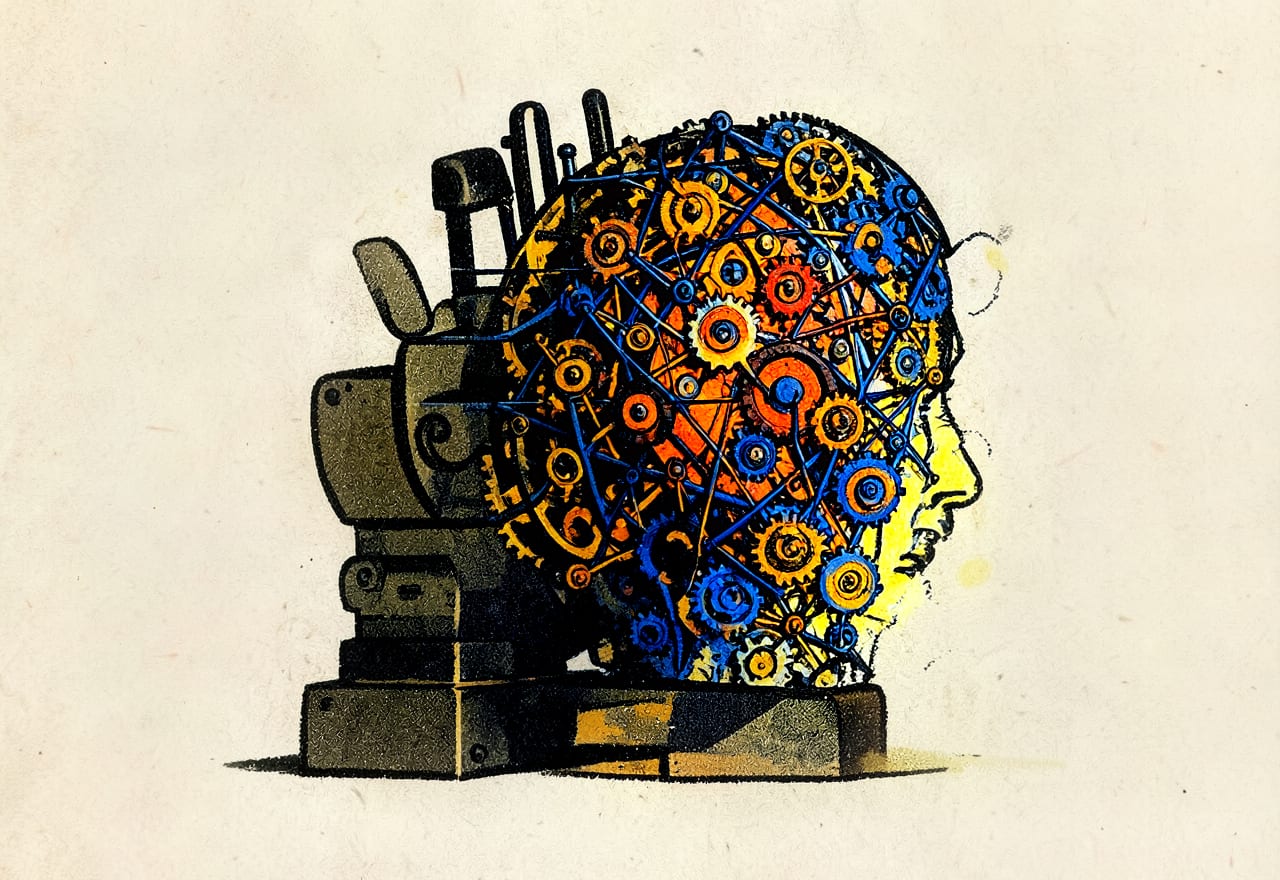 My style: a machine that thinks.
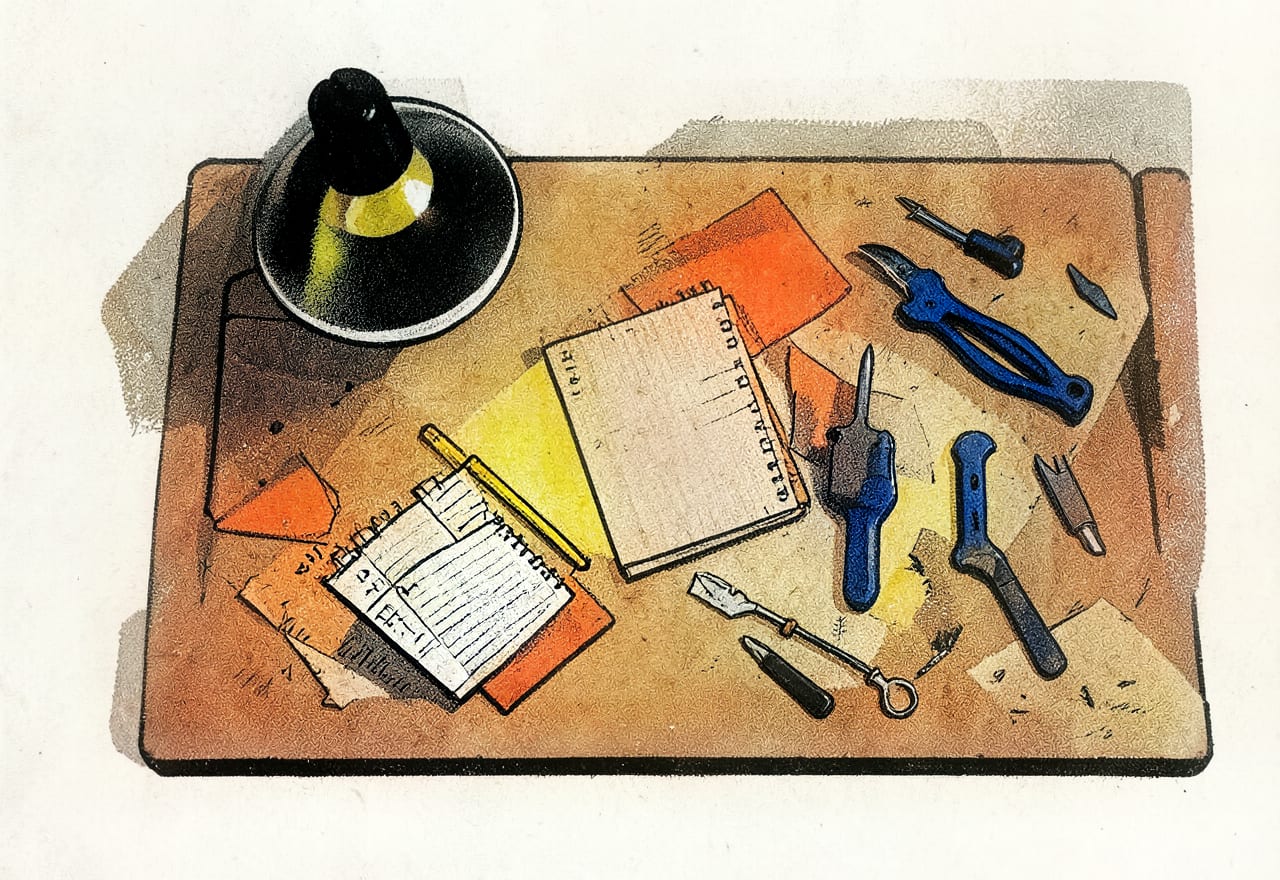 My style: the workbench.
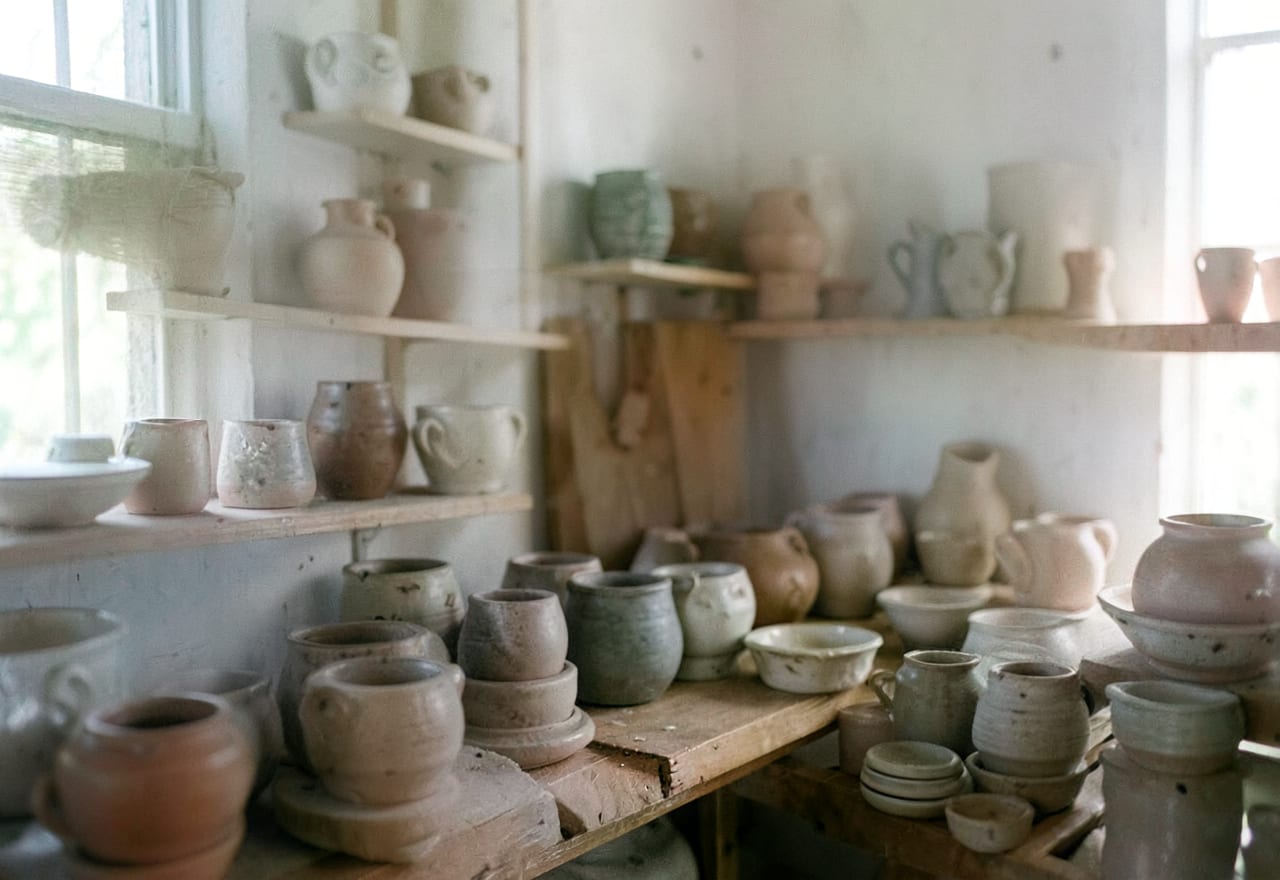 Photorealistic: soft morning light, shallow depth of field.
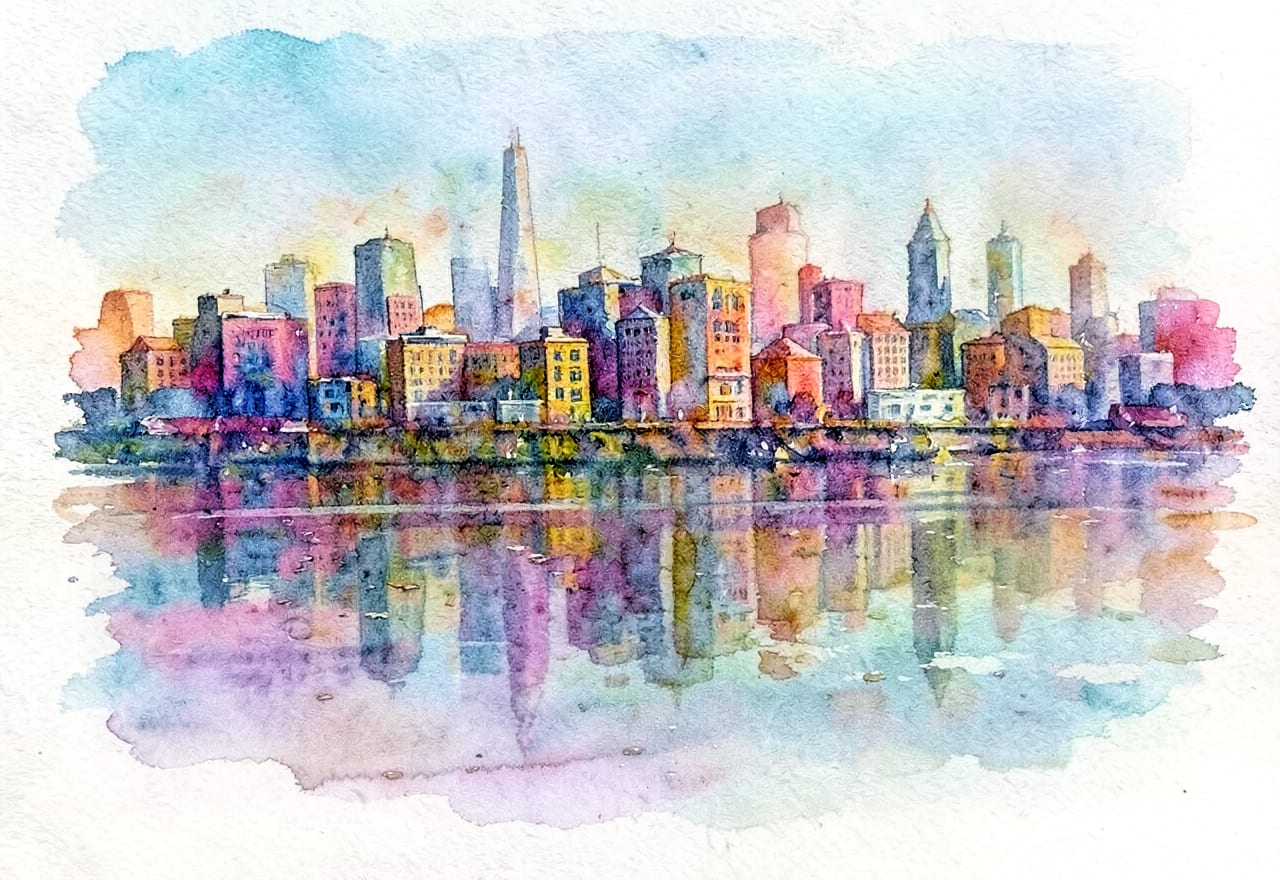 Watercolor: bleeding colors, paper grain.
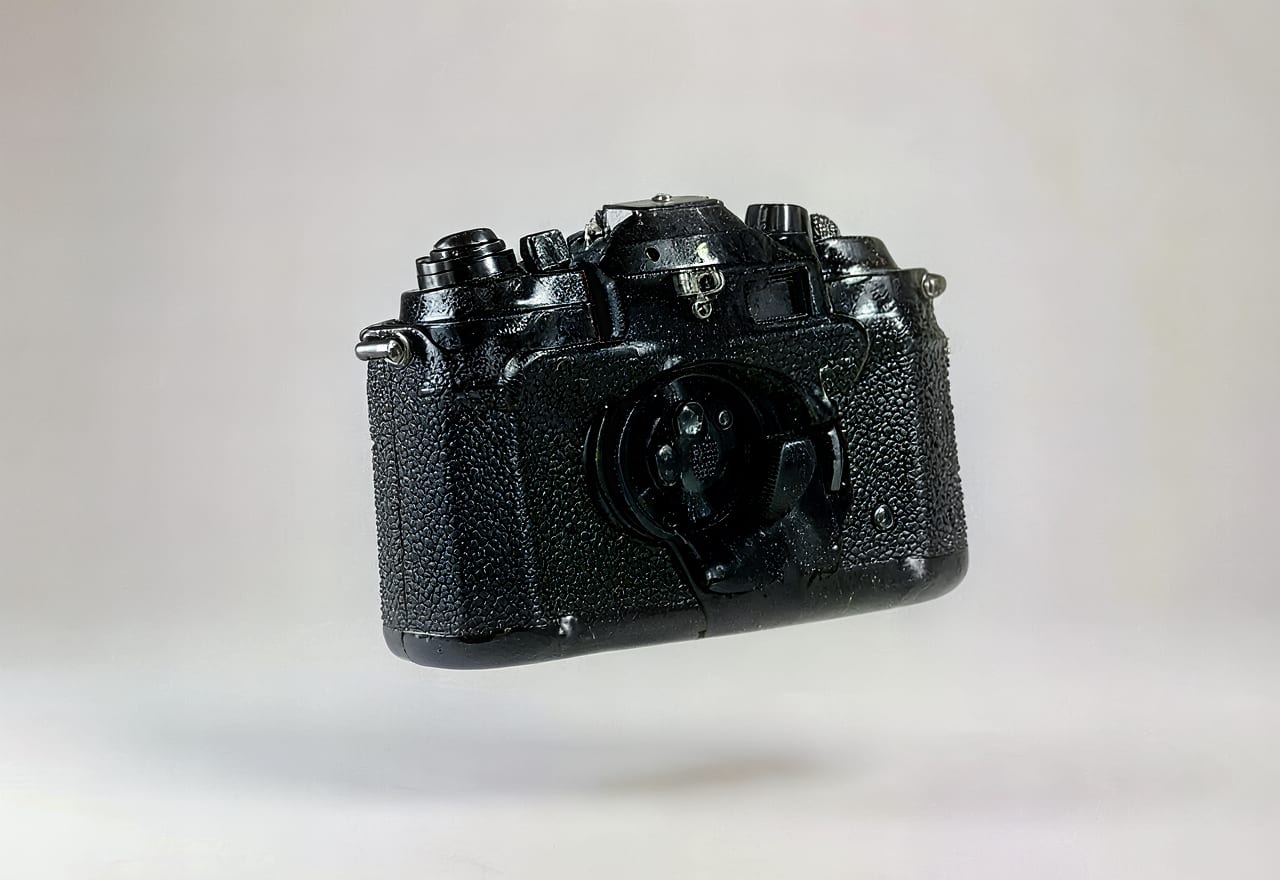 3D render: glossy material, studio lighting.
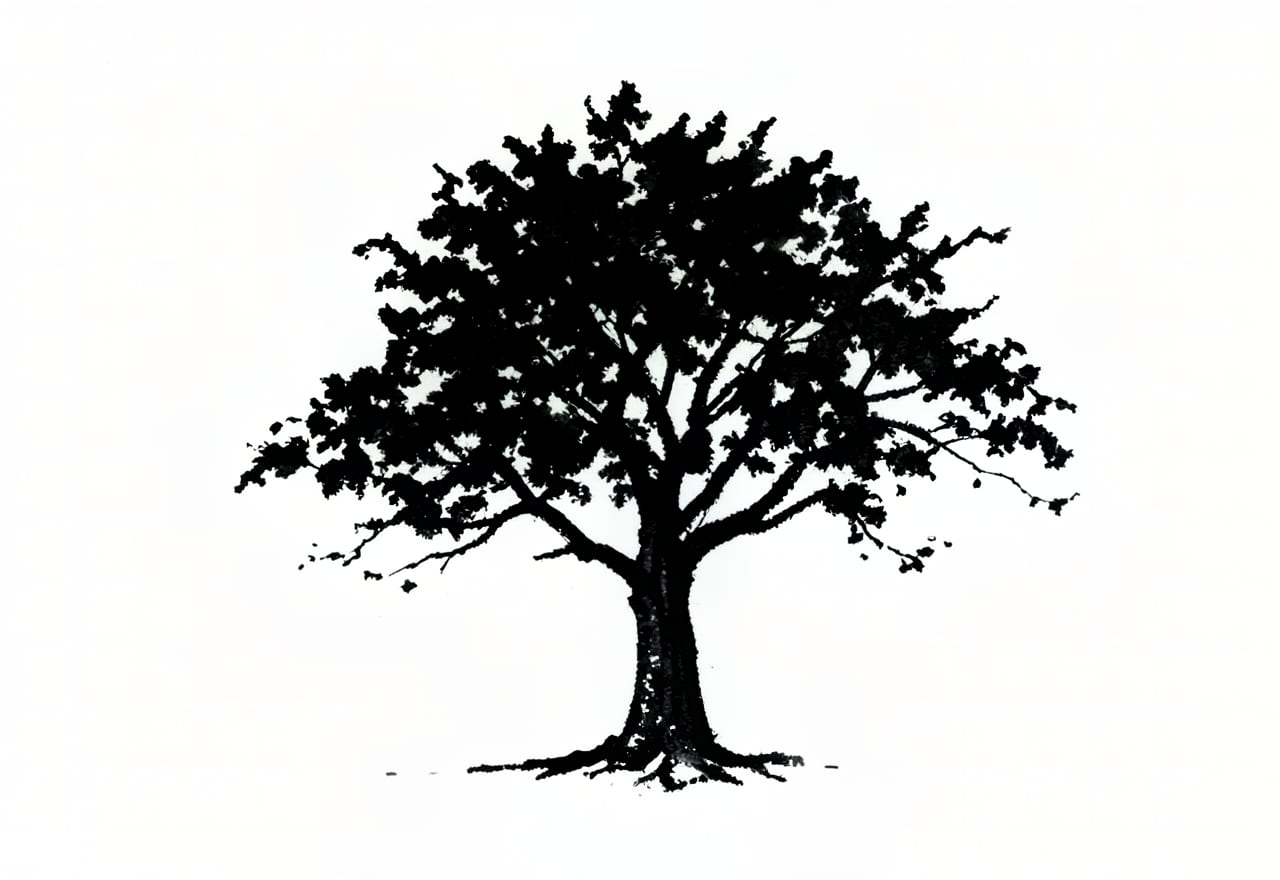 Ink: loose brushwork, plenty of white.
One model, eight very different images. The whole difference sits in the words.
Two pitfalls
Let me save you two things that cost me time.
Memory. The model wants about four gigabytes free. Run it on a full Mac with little memory to spare and it either stops or crawls. Close your heavy apps first.
And the important one: stop the studio cleanly. Never hard kill -9 a running generation process that is using the GPU. On a Mac that can throw the graphics layer into a knot, and then only logging out and back in fixes it. Use the studio’s proper stop. Small detail, big annoyance if you miss it.
In the last part I explain why I do it this way, what it gives me, and what the real lessons were.
This is part 2 of a triptych on making images locally with AI. Start at part 1 or read on in part 3: why I do it this way.